Discover innovation with Adobbe Lighteight Vneer, an exceptionally lightweight and hassle-free installation material. Unlike stone and other products on the market, our processes are fast and efficient, eliminating additional costs of transportation, glue, debris removal and specialized labor.
Transform your space with ease and elegance, while keeping it impeccable, as our product is 75% lighter than traditional options. Experience the revolution in veneer with Adobbe.
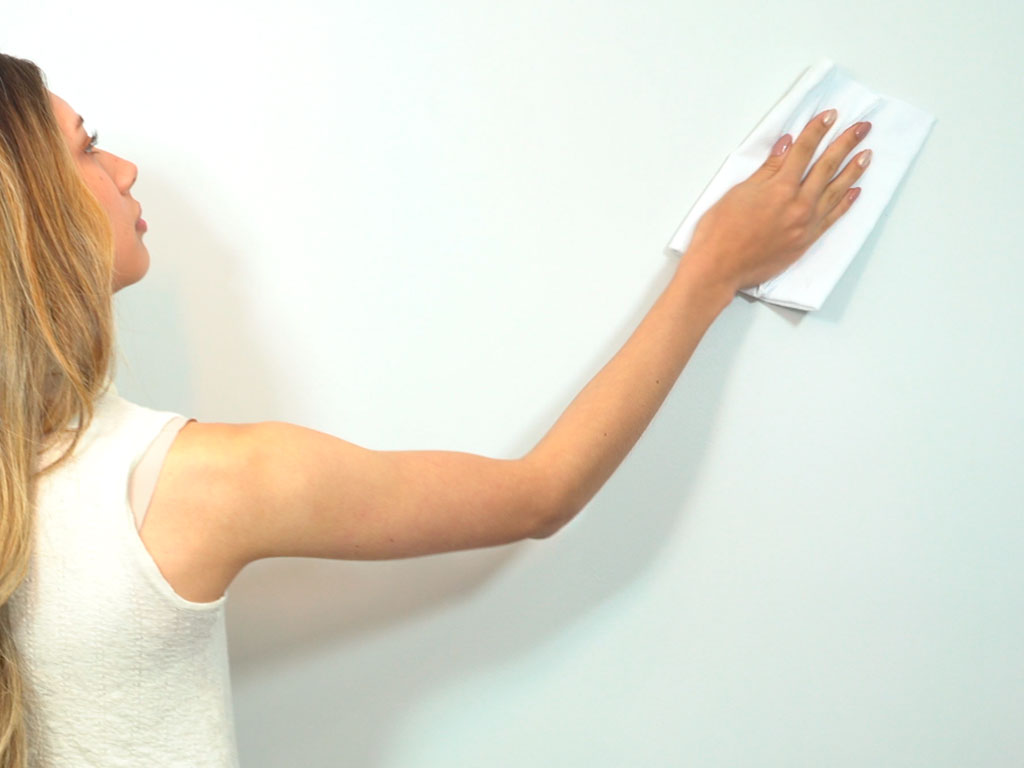
1. Preparing the area to install
Wipe the wall with a clean cloth dampened with water or alcohol.
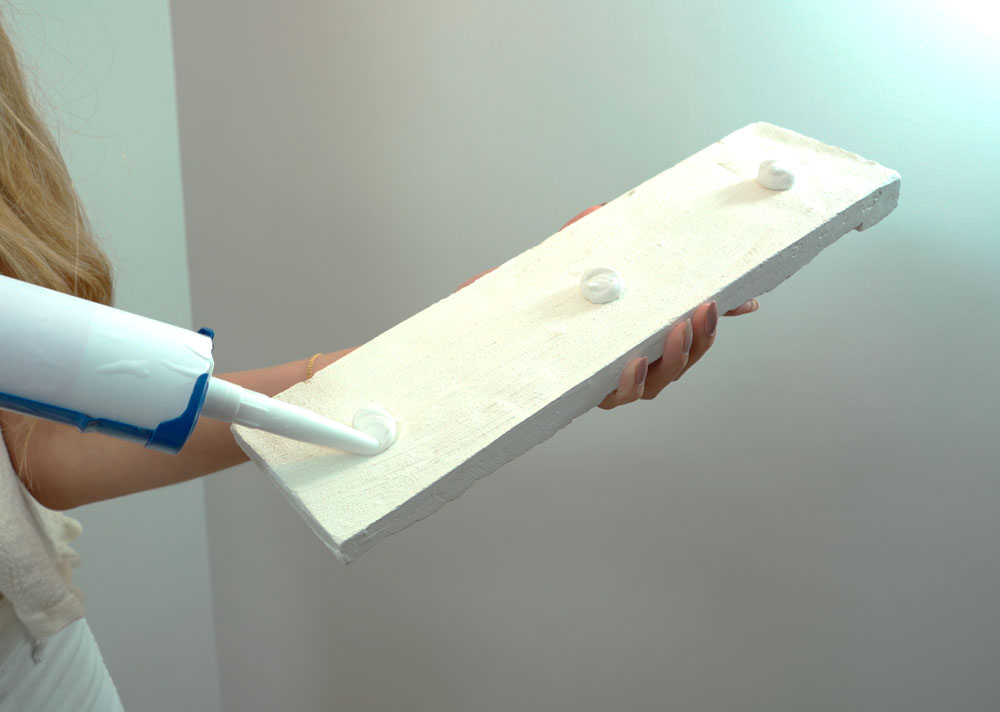
If the wall is warped, apply thicker adhesive dots to help it adhere.
If the wall is made of drywall, make sure it is free of dust. If the drywall is plastered, apply a coat of acrylic resin (paint binder) with a brush. The resin should be mixed 1:1 with water before applying it to the wall. After this, let it dry and then install the product.
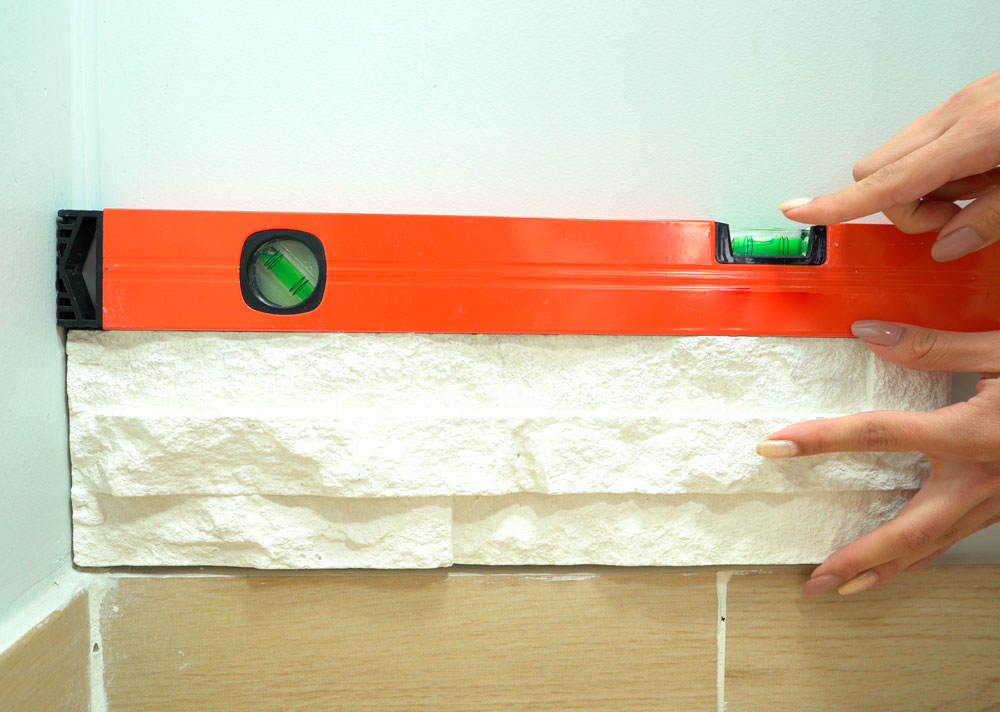
2. Starting the installation
Place two guide pieces on the wall, one at the corner and one at the other edge. Use a level to make sure they are level.
Check if the corner of the wall is straight. If not, fill it with the adhesive from the product. Level every 3 rows. You can also use a string to level the product for a straight installation.
3. Install the stones
Apply three dime-sized dabs of adhesive to the back of each stone.
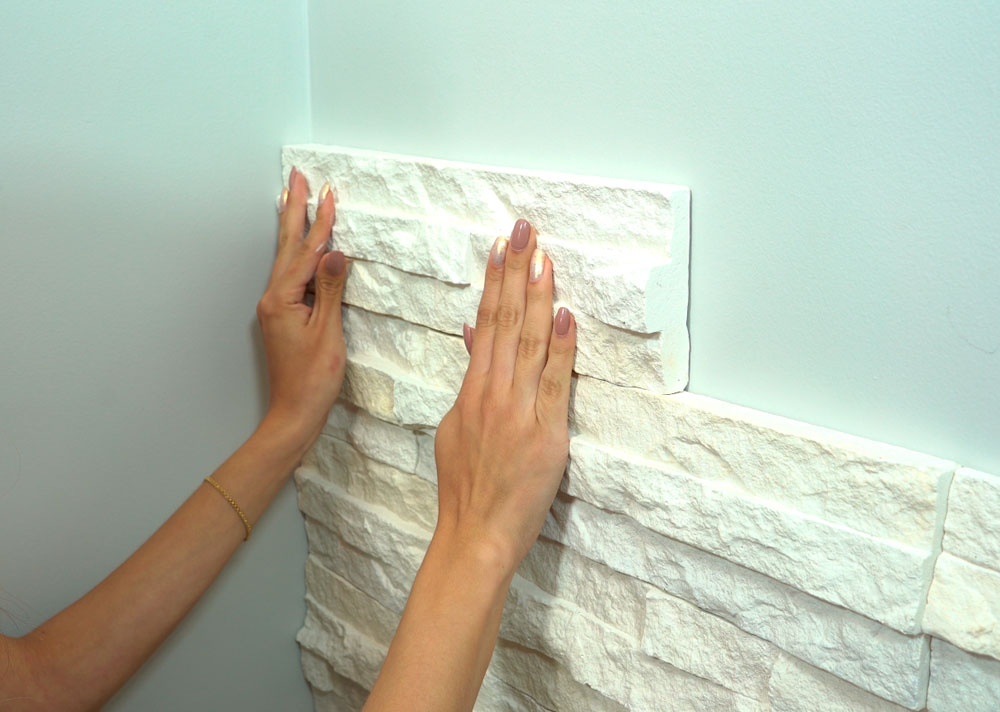
Press each stone firmly against the wall until the adhesive runs off all edges of the stone.
Gently move the stone from left to right or vice versa to make sure it is firmly adhered in the right place.
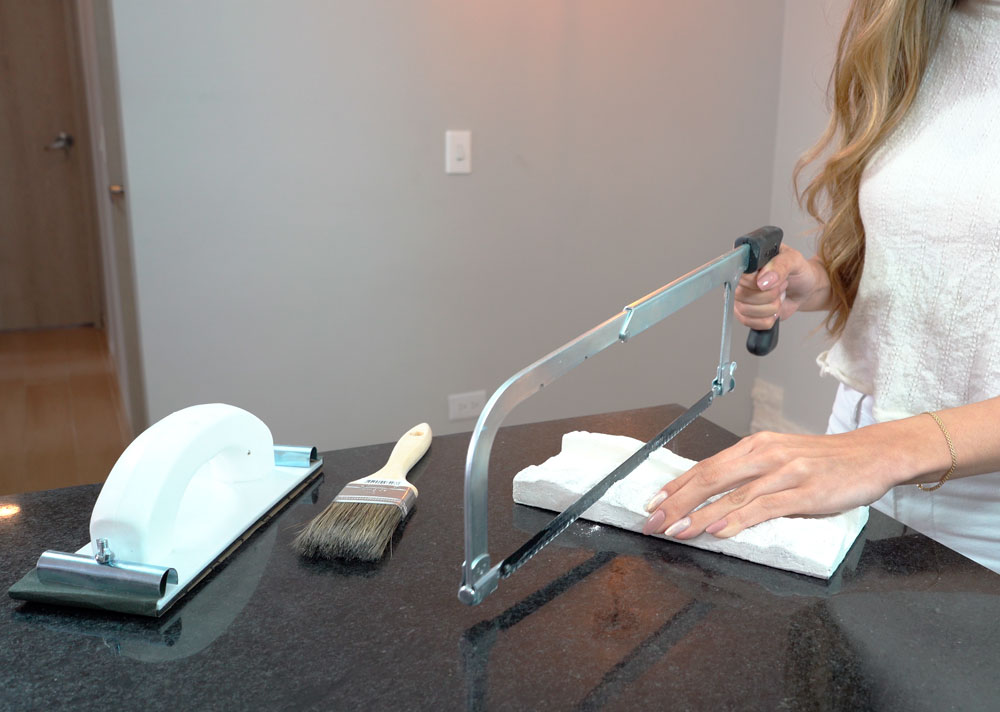
4. Cutting the stones
Mark the stone where you want to cut it with a pencil.
Place the stone face up and cut it with a saw or handsaw.
Remove possible residues with sandpaper and a brush.
To avoid scratching the countertop when cutting, we suggest placing a piece of cardboard over the surface.
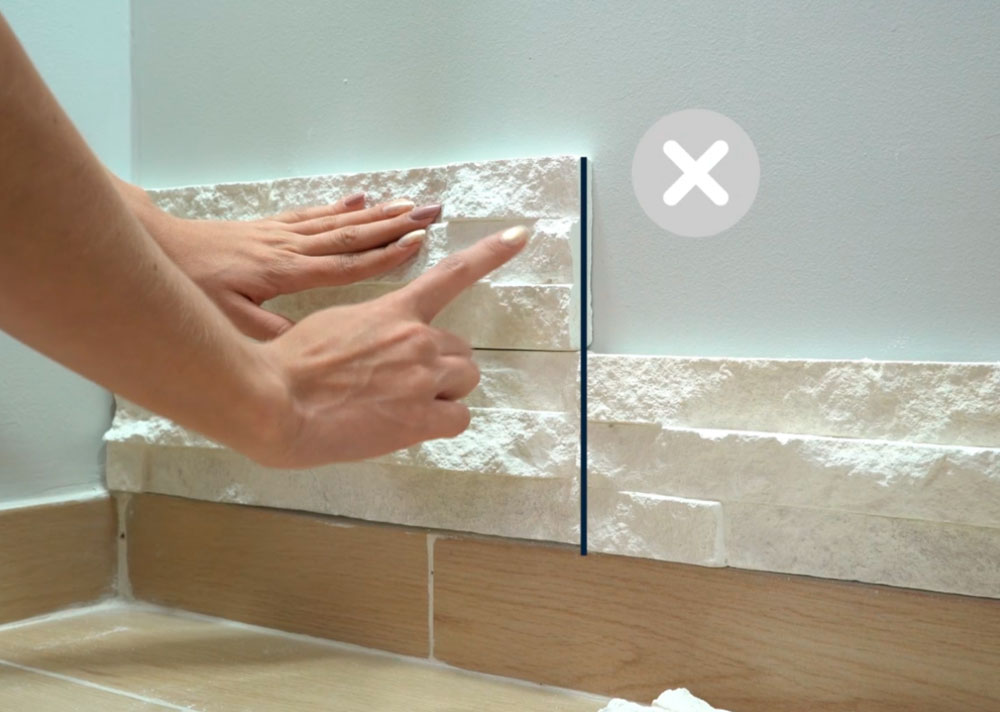
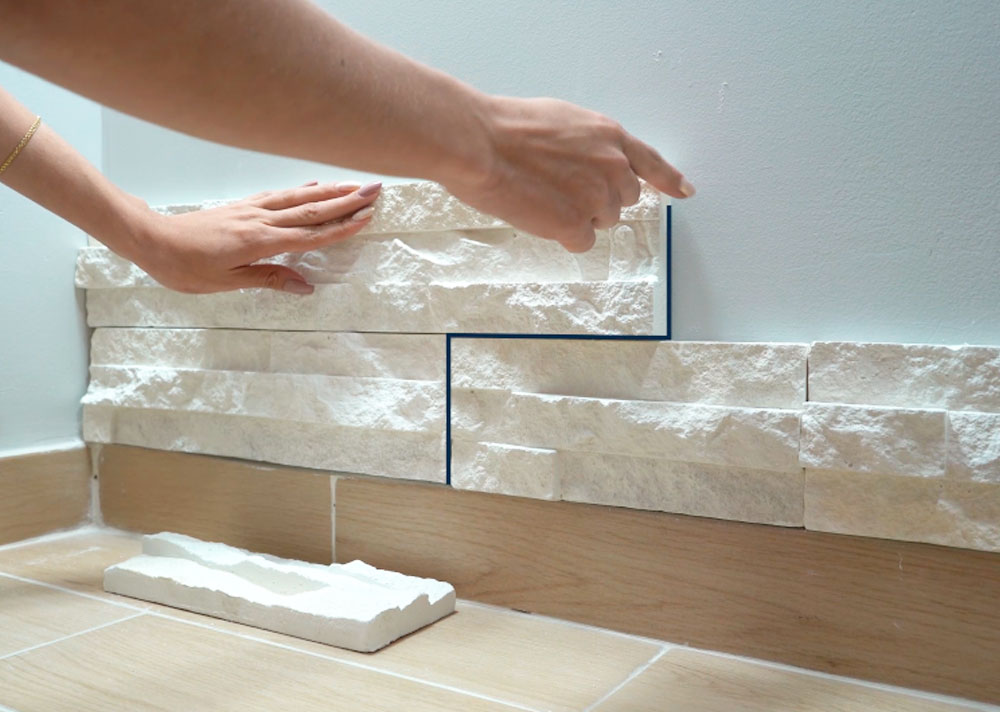
5. Start the second row
Choose a stone that is longer or shorter than the one already installed directly below the one you are about to install.
This will help stagger the vertical joints and achieve a natural look.
6.Final touches
Once all the stones are installed, you can seal the edges to seal them in place.
You can also paint the stones to match your wall color or to create a unique look.
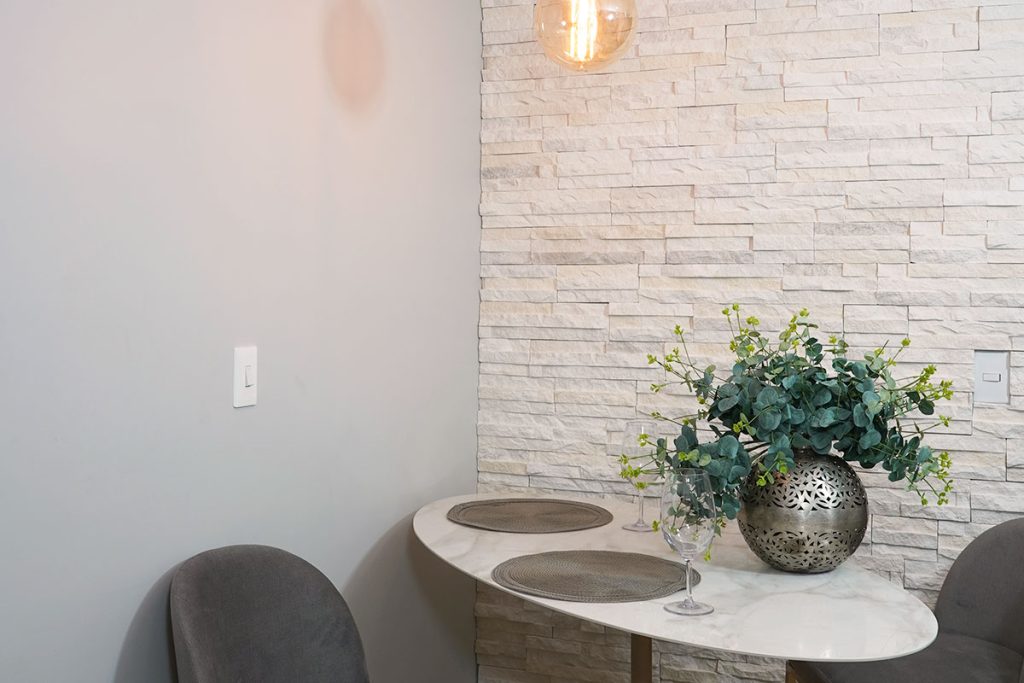
Thanks to the quick and easy installation, you will be able to start enjoying your new decoration much sooner with Adobbe.
Our stone is designed to offer you the opportunity to easily install it yourself. What used to take a mason days to complete, today only takes hours with Adobbe.